A Step-by-Step Guide to Through Hole PCB Assembly
Printed Circuit Boards, or PCBs, form the core of almost all electronic equipment, and getting them assembled properly is paramount for maximum performance and reliability. Of the different PCB assembly techniques, Through Hole PCB Assembly is still one of the favorites, particularly for applications where mechanical bonding needs to be tight and there is a high reliability requirement.
At ESPCBA, we know that successful electronics require precision and care. Whether you are a novice in electronics manufacturing or you want to brush up on your knowledge, this guide takes you through the entire process of through hole PCB assembly step by step.
What is Through Hole PCB Assembly?
Through hole technology (THT) means placing electronic components with leads (or wires) through holes in the PCB drilled and soldering them on the other side. This technique provides a stronger mechanical bond than surface mount technology (SMT), so it is best suited for high-stress applications, e.g., aerospace, industrial, and automotive uses.
Advantages of Through Hole Technology
Before diving into the steps, let’s quickly highlight why THT still holds a significant place in modern electronics:
- Stronger Component Mounting: The leads go through the board, providing a durable physical connection.
- Better for Prototyping and Testing: Components are easier to manually insert and replace.
- Superior Reliability: Especially in applications with environmental stress or mechanical vibrations.
Step 1: Preparing the PCB and Components
Preparation is key to any successful assembly process. Start by:
a) PCB Inspection
- Make sure the PCB is clean, free from oxidation or damage.
b) Component Gathering
- Collect all through hole components (resistors, capacitors, ICs, connectors, etc.).
- Identify each component with its respective position on the board, using the bill of materials (BOM) and assembly drawings.
c) Workspace Preparation
- Employ anti-static mats and wristbands to avoid electrostatic discharge (ESD).
- Organise equipment: tweezers, wire cutters, pliers, flux, and a good soldering iron.
Step 2: Adding Components
a) Put Low-Profile Parts In First
- Begin with the smallest parts (such as resistors and diodes) so the board will be easier to work with as you progress.
- Bend the leads to match the holes.
- Push every component into the right hole.
- Bend the leads slightly on the opposite side to hold the part in position temporarily.
b) Advance to Larger Components
- After the low-profile components are installed, proceed to: Capacitors, Transistors, IC sockets (if applicable), Connectors and headers.
- Tip: Double-check polarity for polarized devices such as electrolytic capacitors and diodes.
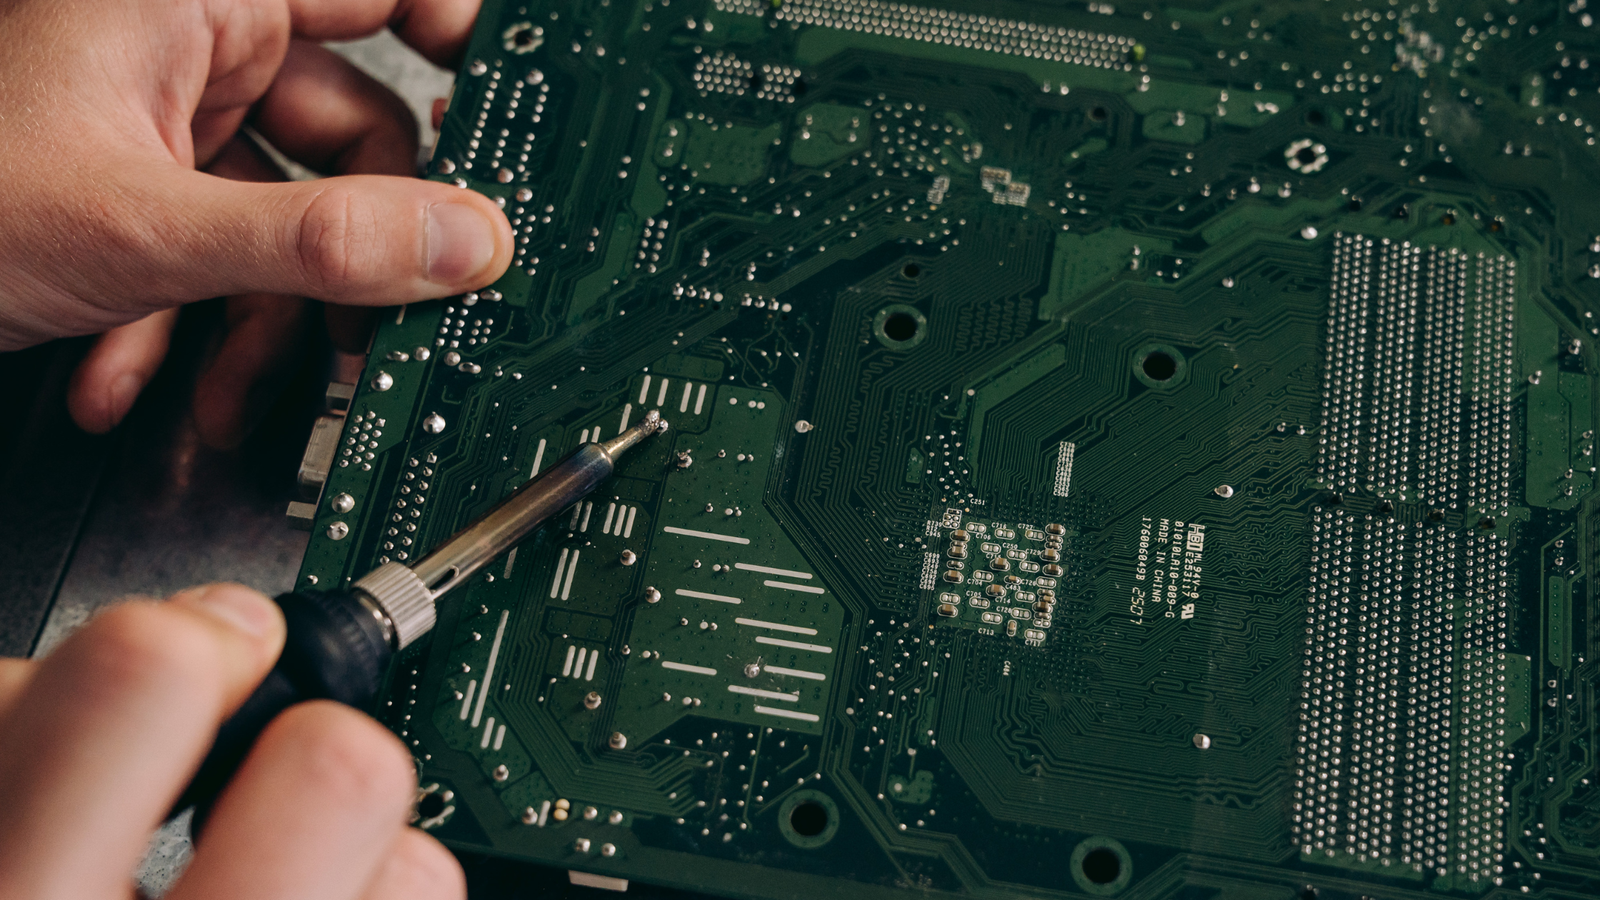
Step 3: Soldering
a) Apply Flux
- Flux cleans the surfaces and aids solder flow. Apply it sparingly to the joint areas.
b) Solder Each Lead
- Heat the lead and the copper pad with the soldering iron.
- Put solder on the joint, not the tip of the iron.
- Let it flow and form a shiny, conical-shaped joint.
c) Avoid Common Mistakes
- Cold joints: Appear dull and show poor connectivity. Reheat if needed.
- Bridges: Too much solder may join two leads. Use desoldering braid or pump to correct it.
Step 4: Trimming Excess Leads
Following soldering, the leads protruding on the back of the PCB must be trimmed. Trim the leads using flush cutters as close to the solder joint as possible. Avoid damaging the solder joints or the PCB surface.
Step 5: Inspection and Quality Control
a) Visual Inspection
- Inspect for reversed or misaligned components.
- Inspect for cold solder joints or solder residue.
b) Multimeter Testing
- Utilize a multimeter to probe continuity between key points.
- Verify correct voltage paths and ground connections.
- Check resistance readings where required.
c) Functional Testing
Power the board (with proper safety precautions) and test it in its target circuit or environment. If it contains microcontrollers or ICs, flash the firmware and check basic operations.
Step 6: Cleaning the PCB
Flux residue may cause corrosion or interference with signal lines. Clean the board with:
- Isopropyl alcohol: With brush or cloth.
- Ultrasonic cleaner: For more thorough non-invasive cleaning.
Ensure the board is fully dry before ultimate use or enclosure assembly.
Step 7: Repairs and Rework (if necessary)
- Remove faulty components using a solder sucker or desoldering braid.
- Replace or correctly re-solder the component.
- Repeat inspection to double-check the fix.
Tips for Effective Through Hole Assembly
- Tackle things logically: Insert and solder parts in an order from smallest to biggest.
- Identify and organize parts: Prevent confusion during assembly.
- Use good soldering habits: A smooth hand and good soldering habits make a big difference.
- Log your procedure: Excellent for quality assurance and easier trouble-shooting down the line.
Applications of Through Hole Assembly
- Power supply modules
- Military-grade electronics
- Automotive ECUs
- Medical devices
- Industrial control systems
We at ESPCBA offer top-quality, affordable through hole assembly services to suit your project requirements. Our skilled staff makes sure each board is constructed to precision with strict inspection at each step.
Why Choose ESPCBA for Through Hole PCB Assembly?
- ✅ State-of-the-art facilities
- ✅ Experienced technicians with years of service
- ✅ Rigorous quality control procedures
- ✅ Fast turnaround times
- ✅ Customized solutions for small to large production runs
Whether you’re prototyping a new design or in full-scale production, our through hole PCB assembly services provide the reliability and hand-craftsmanship your product needs.
Final Thoughts
Through hole PCB assembly is anything but outmoded. Its strengths particularly in the strength and durability departments make it a requirement for a wide range of high-performance uses. By following this step-by-step tutorial, you can keep your assembly process running smoothly, efficiently, and yield a long-lasting finished product.
If you’re seeking to collaborate with a reputable name in electronics manufacturing, ESPCBA is at your service. Reach out to us today to discover more about our services or obtain a personalized quote for your next project.