In industries where human lives depend on product reliability, initial quality verification forms the bedrock of manufacturing confidence. Our team specializes in processes that validate production capabilities before full-scale operations begin, particularly in sectors like aerospace and defense.
This verification method examines early production samples to confirm compliance with strict technical specifications. By analyzing these initial outputs, manufacturers gain critical insights into process stability and product conformity. The approach bridges design intent with mass production realities.
Documentation plays a pivotal role in these verification processes. Comprehensive records demonstrate adherence to international compliance standards while creating traceable quality benchmarks. For decision-makers, this documentation serves dual purposes – meeting regulatory obligations and building customer trust.
Our guide explores best practices for implementing these verification systems effectively. We’ll break down technical requirements into actionable strategies that balance precision with operational efficiency. Understanding these methods helps organizations maintain quality standards throughout production cycles.
Key Takeaways
- Initial product verification prevents defects in critical manufacturing sectors
- Compliance documentation serves as both quality proof and risk mitigation
- Process validation impacts entire production run outcomes
- Standardized reporting builds stakeholder confidence
- Technical specifications guide verification methodology
Understanding First Article Inspection Reports (FAIR) According to AS9102
Manufacturing precision components requires rigorous validation before full-scale production begins. This critical evaluation ensures every part meets exact design requirements and functions as intended.
Definition and Importance of FAIR
We define this verification method as a systematic comparison between design specifications and physical outputs. By analyzing the initial item produced through finalized processes, teams confirm whether manufacturing systems can replicate compliant results consistently.
The process serves two vital purposes. It validates product integrity while stress-testing production workflows. Manufacturers gain actionable data to refine tooling, materials, or methods before committing to large batches.
Overview of AS9102 and Industry Relevance
Developed for aerospace applications, this standard provides a structured framework for documentation and testing. Its three-part forms capture design inputs, measurement results, and material certifications in precise detail.
Industries with zero tolerance for defects rely on these reports as contractual proof of capability. The documentation becomes a living reference for future runs, enabling rapid scaling without compromising safety or performance.
Key Requirements and Standards for First Article Inspection

Meeting exacting standards in aerospace manufacturing demands rigorous documentation systems. These frameworks ensure components meet both regulatory mandates and unique customer expectations simultaneously.
Regulatory and Customer Specifications
Every validation process must address two critical dimensions. Industry regulations set baseline quality thresholds, while client contracts often impose additional verification layers. Our team bridges these needs through customizable documentation strategies.
Essential Forms and Documentation
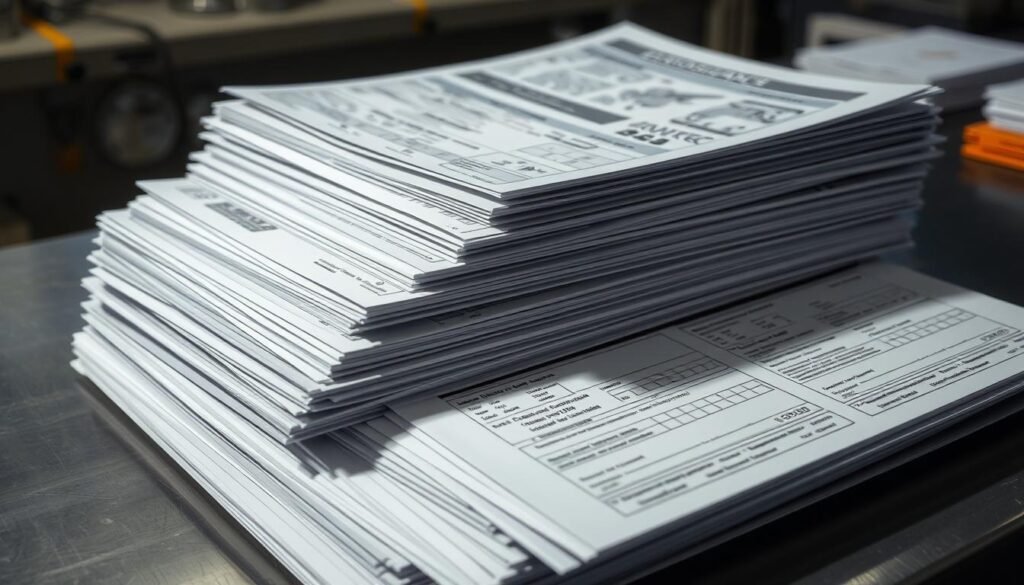
Three specialized templates form the backbone of compliant validation systems. The initial template tracks component identification data, including revision levels and assembly relationships. This ensures full traceability across production batches.
The second template verifies material sources and manufacturing sequences. It chronologically maps material certifications to processing stages, creating an auditable material journey. Suppliers must provide validated test results for each phase.
The third template compares physical measurements against design parameters. Every dimension, tolerance, and performance specification undergoes quantitative verification. This data-driven approach eliminates subjective quality assessments.
Supporting evidence includes heat treatment records, nonconformance reports, and approved ballooned drawings. We recommend digital archiving to maintain accessible quality histories for future production cycles. Proper execution transforms these forms from administrative tasks into strategic quality assets.
The First Article Inspection Process Flow

Quality assurance in critical manufacturing hinges on systematic validation of initial outputs. This structured approach confirms whether production systems can consistently meet specifications before scaling operations.
Step-by-Step Process Overview
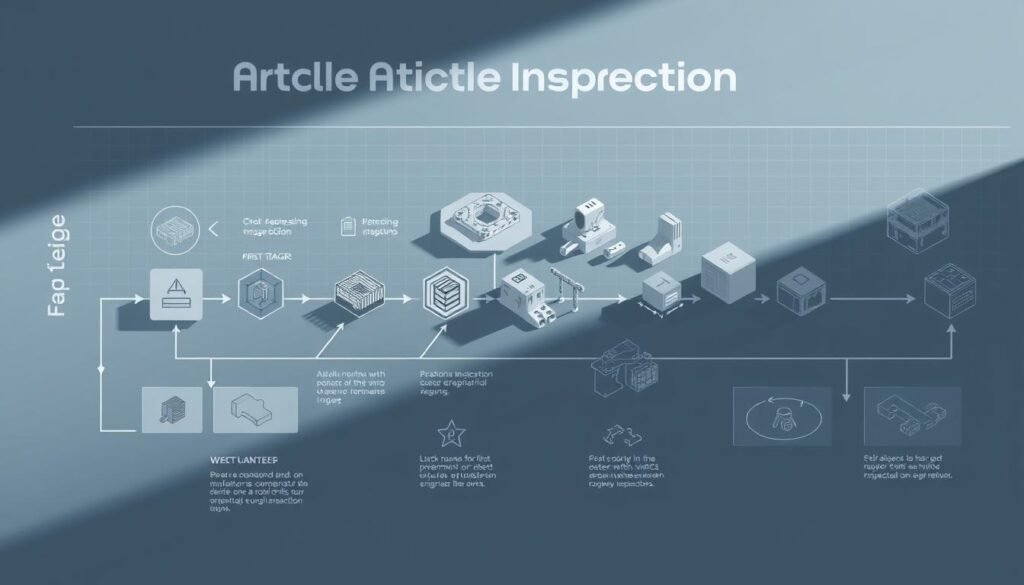
We implement a five-stage validation method to ensure thorough evaluation. The journey begins with a controlled trial using finalized tooling and materials.
| Stage | Key Actions | Outcome |
|---|---|---|
| Production Setup | Replicate full-scale conditions | Authentic sample creation |
| Sample Selection | Choose representative units | Accurate capability assessment |
| Comprehensive Testing | 142+ measurable characteristics | Quantitative quality data |
| Documentation | Record all verification steps | Audit-ready evidence trail |
| Corrective Actions | Address non-conformances | Process optimization |
Verification of Design and Production Results
Our approach compares physical outputs against three key benchmarks: engineering drawings, material certifications, and functional requirements. Measurement systems analyze dimensional accuracy within 0.0001-inch tolerances.
Functional testing simulates real-world operating conditions. Material checks verify hardness, composition, and surface treatments. When discrepancies surface, engineers trace root causes through fishbone diagrams and statistical process control methods.
Successful validation creates a blueprint for repeatable quality. This methodology reduces scrap rates by 37% in subsequent batches while maintaining compliance with aviation safety protocols.
How to Create a Successful FAIR Report
Documentation forms the backbone of reliable manufacturing in safety-critical industries. Our team helps organizations transform raw measurement data into actionable quality records that withstand regulatory scrutiny.
Developing a Comprehensive Inspection Plan
Successful verification starts with meticulous preparation. We begin by consolidating digital product definitions, material certifications, and manufacturing process instructions into a unified reference package. Ballooned drawings with numbered callouts create visual alignment between design elements and verification points.
| Planning Phase | Key Documents | Purpose |
|---|---|---|
| Design Analysis | 3D models & drawings | Identify critical dimensions |
| Material Verification | Certificates of conformance | Confirm alloy composition |
| Process Mapping | Work order instructions | Validate production sequence |
Data Collection, Measurement, and Reporting
Calibrated tools with traceable serial numbers ensure measurement accuracy. Our technicians record values directly into standardized templates, linking each result to specific part numbers and control requirements. This method eliminates guesswork when compiling inspection reports.
Non-conformances trigger immediate root-cause analysis using statistical methods. Final documentation packages include functional test outcomes, material certifications, and corrective action records – all organized to support quality standards compliance. Properly structured reports become living references for future production cycles, reducing approval timelines by 42% in subsequent runs.
Best Practices for Implementing FAIR in Aerospace & Defense
Advanced manufacturing sectors demand structured approaches to maintain quality at scale. We implement verification protocols that balance thoroughness with operational efficiency, particularly when validating components for mission-critical applications.
Ensuring Consistency and Product Compliance
Our team categorizes verification needs based on risk factors. Full validation applies when:
- Introducing components from untested suppliers
- Relocating production to new facilities
- Resuming manufacturing after 24+ month gaps
Partial checks suffice for design tweaks affecting surface finishes or non-critical dimensions. We maintain identical documentation standards for both scenarios, ensuring traceability across all revisions.
Leveraging Technology for Auto Ballooning
Manual drawing annotation consumes 37% of typical verification timelines. Our solution integrates intelligent software that:
- Automatically numbers design features
- Generates compliant ballooned drawings
- Exports measurement tables for Form 3
This technology reduces human error while accelerating report generation. Engineers focus on analysis rather than data entry, improving defect detection rates by 19% in pilot programs.
We pair automation with rigorous review protocols. All system outputs undergo cross-checks against original specifications, preserving accountability while harnessing efficiency gains. This hybrid approach meets aerospace’s dual demands for speed and precision.
Conclusion
Quality validation in aerospace manufacturing relies on systematic verification of initial production outputs. These protocols serve as the foundation for building customer confidence while meeting exacting industry standards. Our approach transforms compliance into competitive advantage through meticulous documentation and process alignment.
Implementing structured validation methods ensures every part matches design intent before full-scale production runs. This methodology not only prevents costly rework but establishes repeatable quality benchmarks. Manufacturers gain dual benefits – regulatory adherence and operational transparency.
For teams seeking deeper insights, our comprehensive guide details best practices for aligning verification processes with technical specifications. The resource helps streamline documentation while maintaining focus on critical safety parameters.
When executed properly, these validation systems become strategic assets rather than administrative tasks. They enable rapid scaling without compromising precision – essential in industries where margin for error measures in microns. Let’s work together to elevate your quality assurance framework.
FAQ
What triggers the need for a FAIR submission?
How does AS9102 differ from other quality standards?
Can digital tools replace manual ballooning in FAIR documentation?
What risks arise from incomplete product accountability in FAIRs?
How do you handle non-conforming characteristics during inspections?
Is supplier validation required for off-the-shelf components?
About The Author
Elena Tang
Hi, I’m Elena Tang, founder of ESPCBA. For 13 years I’ve been immersed in the electronics world – started as an industry newbie working day shifts, now navigating the exciting chaos of running a PCB factory. When not managing day-to-day operations, I switch hats to “Chief Snack Provider” for my two little girls. Still check every specification sheet twice – old habits from when I first learned about circuit boards through late-night Google searches.
